
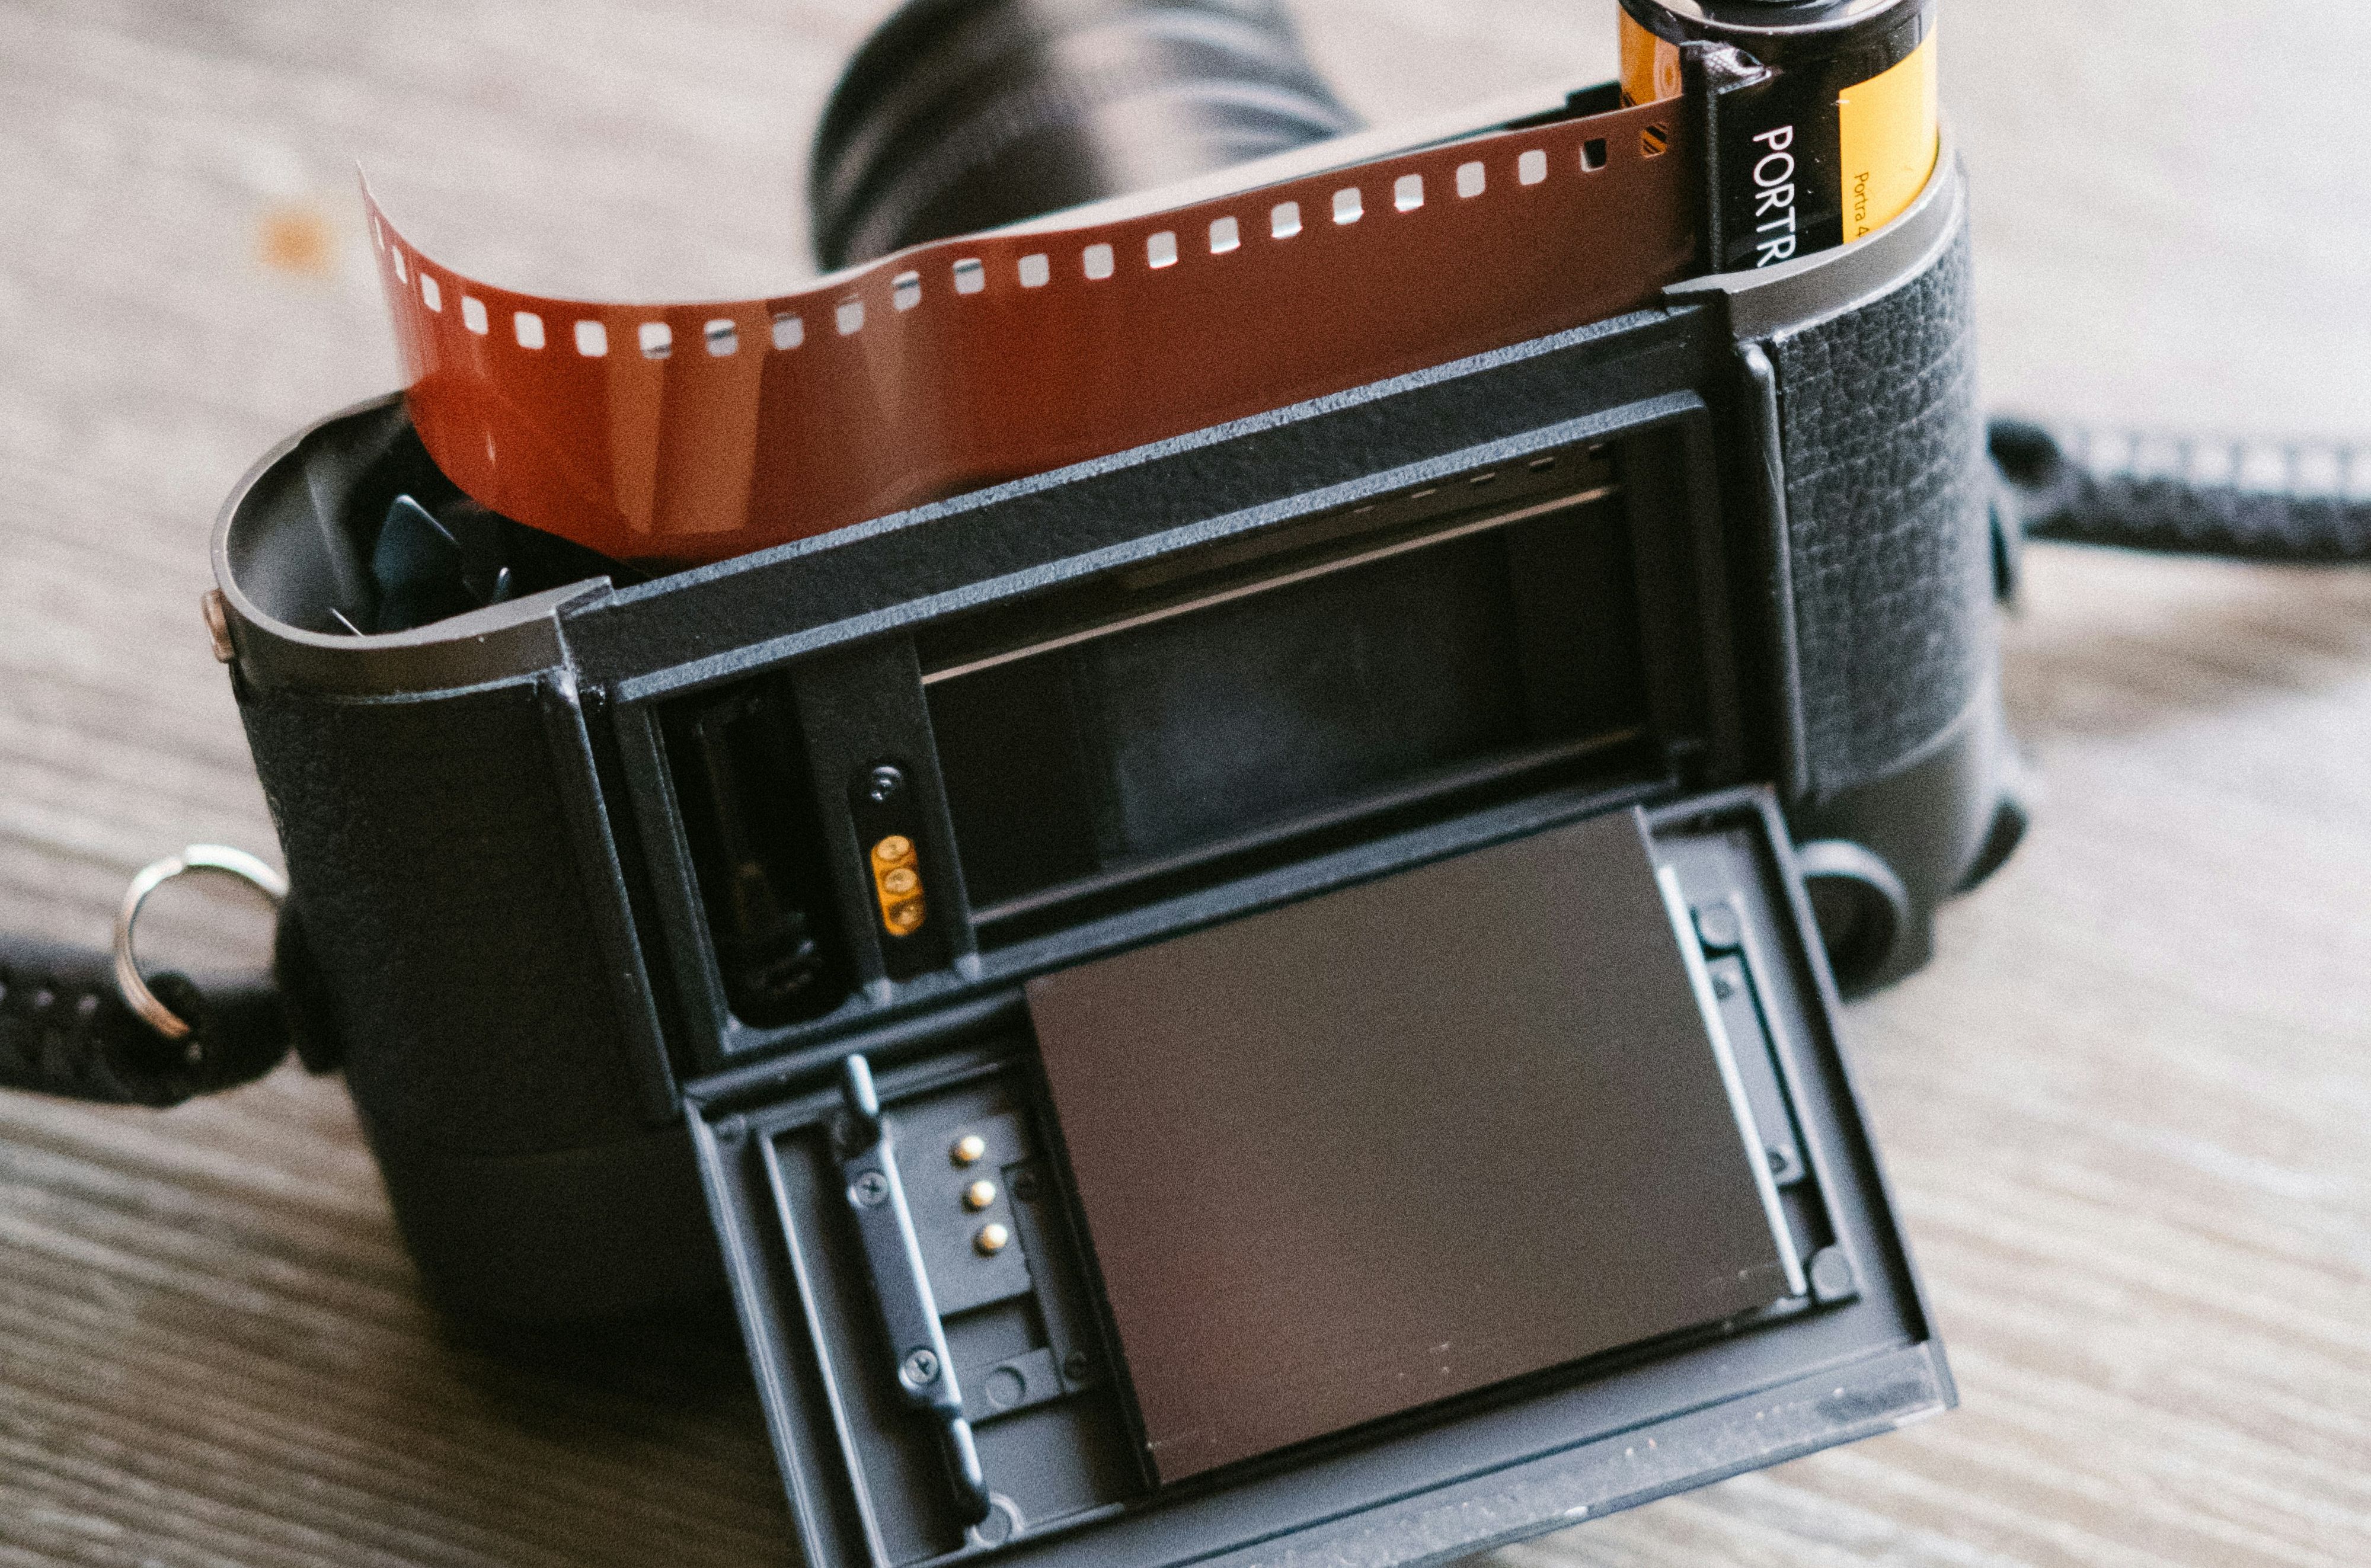
Film photography looks intimidating from the outside.
There is the camera to figure out, the film to choose, the exposure settings to understand without a screen to check, the development process to navigate, and a dozen other things that feel unfamiliar when you have only ever shot digital.
Here is what I want to tell you before any of that: it is simpler than it looks. I know because I started on film — before digital existed as an option — and I spent years in darkrooms developing my own negatives and making prints by hand. The fundamentals of photography are the same on film as they are on digital. Light, aperture, shutter speed — the exposure triangle does not change because the medium does. What changes is the relationship you have with the process. And that relationship, once you experience it, is usually the part people fall in love with.
This is how to start.
Start With a 35mm Film Camera
35mm is the format to begin with. It is the most accessible, the most affordable, the most widely supported, and the one with the largest community of resources around it. Medium format is beautiful and worth exploring eventually — I shoot it myself and love it — but not for your first roll.
You do not need to spend a lot of money on a camera. Some of the best learning happens on modest equipment, and the used market for 35mm cameras is genuinely excellent. Thrift stores, eBay, local camera shops, and estate sales are all legitimate sources. Prices for quality beginner-to-intermediate film cameras often range from around twenty dollars for a basic point-and-shoot to a few hundred for something more capable, depending on what you are looking for.
For a first camera, a point-and-shoot with automatic exposure is a perfectly reasonable choice. It lets you focus on seeing and composing while the camera handles exposure. An entry-level SLR with manual capability gives you more control and more to learn from. Either one works. Do not let the camera decision become the thing that delays you from actually shooting — I have seen students spend weeks researching cameras and zero time actually shooting. Pick one and load it.
Choose Your Film
Film comes in different ISO speeds, and the choice matters more than it might seem.
ISO 400 film is the most versatile starting point. It handles a broad range of lighting conditions reasonably well — indoor light with a window, outdoor light on an overcast day, outdoor light on a sunny day. It is forgiving. If you do not know what conditions you will be shooting in, ISO 400 is where to start. It is where I send every beginner.
ISO 100 or 200 film is slower and gives you finer grain and richer color in bright light conditions. If you are shooting primarily outdoors on sunny days, it is worth considering. But it struggles in lower light.
ISO 800 film is faster and handles lower light better. The grain is more pronounced, which some photographers love as an aesthetic. If you are drawn to that grainy, documentary feel, ISO 800 gives you more of it naturally. I reached for ISO 800 often when I was shooting events and concerts in lower light — it has a quality that feels alive.
For your first roll, Kodak Gold 200, Kodak ColorPlus 200, Kodak UltraMax 400, or Fujifilm Superia 400 are all solid starting choices. They are widely available, affordable, and produce pleasing results across a range of conditions. Do not overthink the film choice for your first roll. Pick one and shoot it.
Understand How Exposure Works on Film
If you have shot digital, you already understand the exposure triangle. Aperture controls depth of field and how much light enters the lens. Shutter speed controls motion and the duration of light entering the camera. ISO controls the sensitivity of the film to light — and unlike digital, you cannot change ISO mid-roll. You commit to one ISO for the entire roll.
That commitment is actually one of the things that makes film so educational. You have to think about the conditions you will be shooting in before you load the camera rather than adjusting ISO on a frame-by-frame basis. It is a constraint that forces a kind of planning that makes you a more thoughtful photographer. I noticed this in myself early on — having to commit to a film stock before I knew exactly what the day would bring taught me to read light more carefully before I ever raised the camera.
On a point-and-shoot, the camera handles exposure automatically. On a manual SLR, you set aperture and shutter speed yourself. If you are new to manual exposure, start with the sunny sixteen rule as a baseline: on a bright sunny day, set your aperture to f/16 and your shutter speed to 1 divided by your ISO. ISO 400 film on a sunny day — f/16, 1/400. That gives you a starting point you can adjust from.
The light meter in most film cameras will guide you if the batteries are fresh. You will learn more from one roll of honest mistakes than from a week of reading about exposure theory. I mean that. Shoot the roll.
Get Your Film Developed
This is the step people worry about most and it is genuinely straightforward — I promise.
Many local camera shops still develop film. Some pharmacies and big-box stores still offer development services. And there are excellent mail-in labs that have made film development accessible everywhere, regardless of where you live. When I was shooting film regularly before digital took over, getting film developed meant finding a good local lab and building a relationship with them. Today the mail-in lab option has made that easier than ever.
Most labs offer the option to have your film scanned to digital files as part of the development service, which means you get the developed negatives back plus digital images you can view and share. This is the most practical option for most beginners.
Development costs vary but typically run somewhere in the range of fifteen to thirty dollars per roll including scanning, depending on the lab and the level of scanning resolution you choose. For a first roll, standard resolution scanning is fine.
Keep your exposed rolls away from heat and get them developed reasonably promptly. You do not need to rush, but undeveloped exposed film does degrade over time.
What to Expect From Your First Roll
Your first roll will not be perfect. I want to say that clearly so it does not come as a shock — and I say it as someone who has shot more rolls of film than I can count and still occasionally comes back from the lab with frames that didn’t do what I wanted.
You will probably have frames that are underexposed, frames that are slightly soft, frames where the composition was not quite what you intended. This is completely normal and it is not a sign that film is not for you. It is a sign that you are learning.
What you will also have — almost certainly — is a handful of frames that surprise you. Images that have a quality you did not expect. A color rendering that is warmer or more interesting than what you get from your digital camera. A moment captured with a weight that feels different from your digital files.
Those frames are what get people hooked. I have watched it happen with students who came in skeptical and left with a camera roll they couldn’t stop looking at. Not because film is magic, but because the process of shooting it changes how you photograph — and that change shows up in the results.
Shoot the roll. Send it to the lab. Wait for the scans. Then look honestly at what worked and what didn’t, and load another roll.
If you want a simple, organized starting point — what film to buy, what to check on your camera before you load, what to know about getting your roll developed — the free 35mm Starter Checklist has all of it in one place. I put it together from twenty-five years of shooting and darkroom experience because I wanted beginners to have the practical foundation I wish someone had handed me at the start.
Film photography is not complicated. It is just different. And different, in this case, is worth trying.