
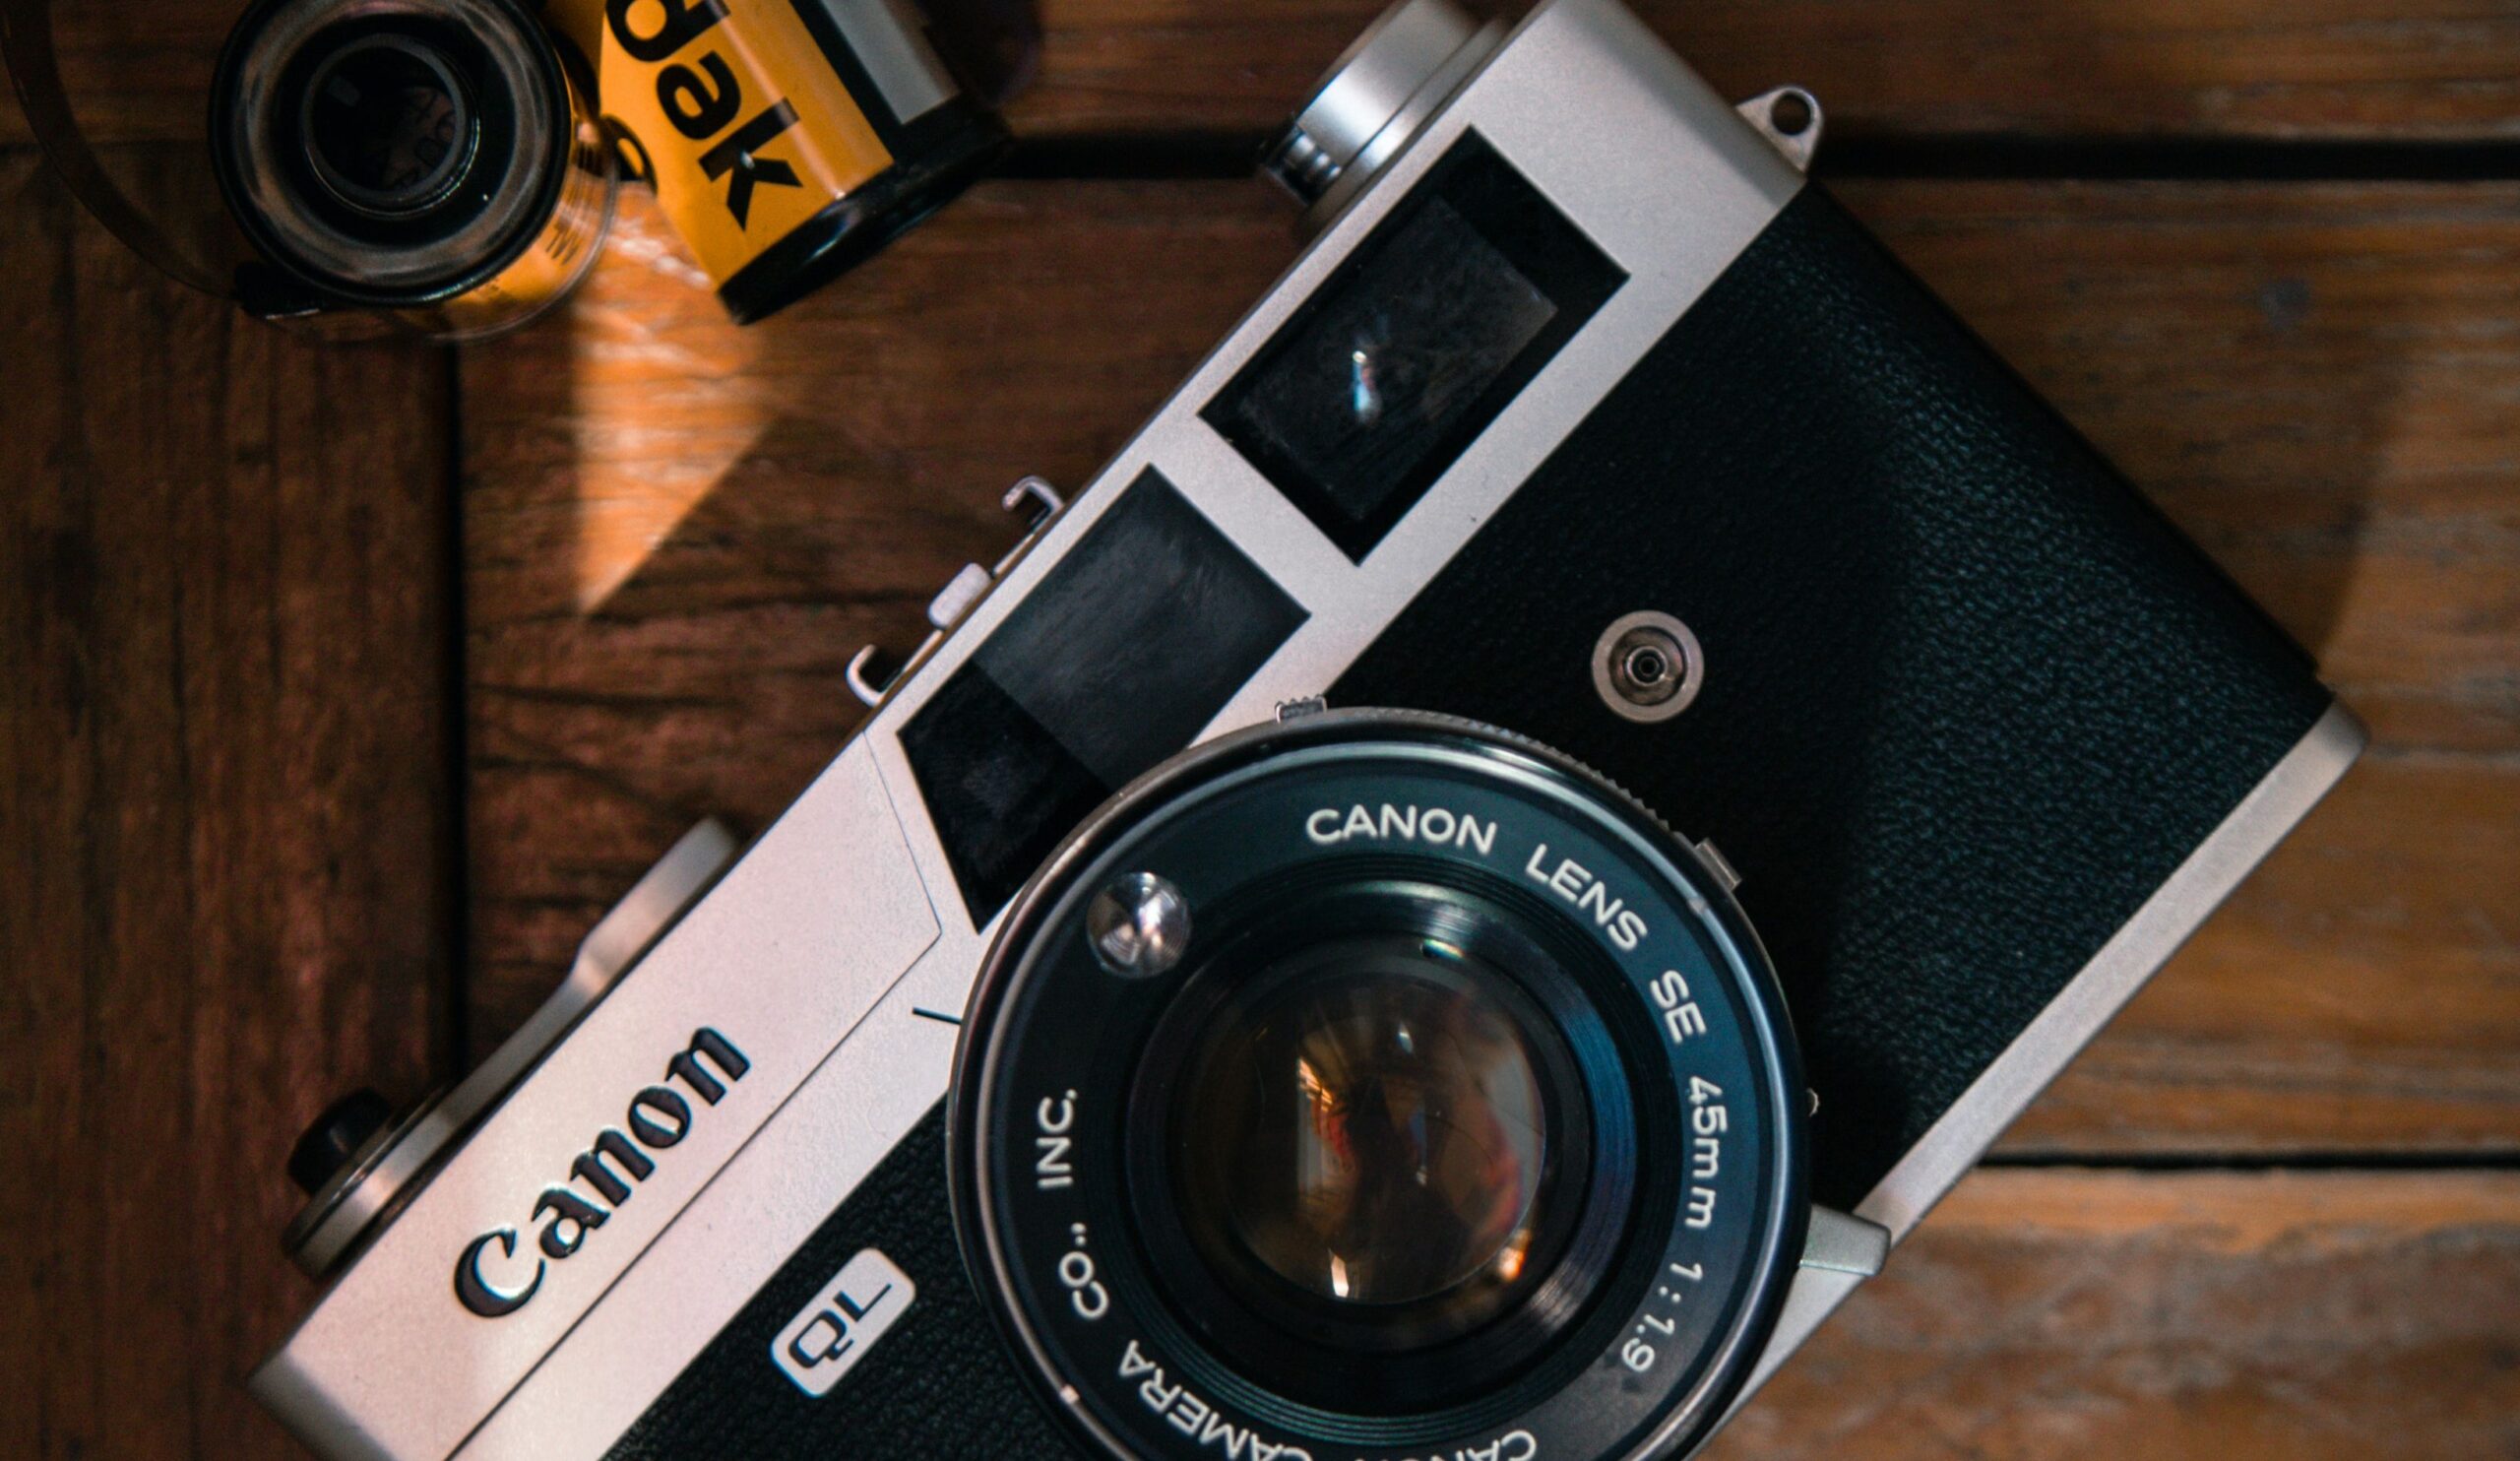
There are a handful of things about shooting film that nobody tells you until after your first roll comes back slightly wrong.
Not wrong in a way that ruins anything — film is more forgiving than its reputation suggests — but wrong in ways that would have been easy to avoid if someone had just said them out loud beforehand.
I have been doing this for over twenty-five years. I started in film before digital existed. And watching people discover film photography now, with fresh eyes and genuine enthusiasm, I want to give you the version of this conversation I wish someone had given me when I was starting.
Here is what is worth knowing before you load that first roll.
Your Camera Needs Working Batteries
This sounds obvious. It is consistently overlooked.
Most 35mm film cameras, even fully mechanical ones, have a light meter that runs on batteries. Some cameras require batteries to operate at all — the shutter will not fire without them. Others will fire mechanically but you will be guessing at exposure without meter support.
Before you load film, check the battery compartment. Know what batteries your camera uses. Put fresh ones in. A camera with dead batteries and a loaded roll of film is a frustrating situation that is entirely avoidable.
While you are at it, if you are using a camera you bought second-hand, run a quick check to make sure the light seals are intact. Light seals are the foam strips around the back door of the camera that prevent light from leaking onto the film. Old foam degrades over time and can cause light leaks that ruin your exposures. You can check by holding the camera up to a bright light source with the back open, then closing it and looking for any light bleeding through the seals. If you see light, the seals need to be replaced before you load film. It is an inexpensive fix and worth doing before shooting an entire roll.
ISO Is Committed for the Whole Roll
In digital photography, you change ISO frame by frame. In film photography, you commit to an ISO when you choose your film and that ISO applies to every frame on the roll.
This matters more than it might seem when you are planning a shoot. If you load ISO 400 film and then find yourself in bright midday sun, you are managing that speed for the whole roll. If you load ISO 100 film and then walk indoors, you are going to struggle with exposure.
Think about the conditions you expect to be shooting in before you choose your film. ISO 400 is the most versatile starting point because it handles both reasonably bright outdoor light and indoor light near windows without requiring extreme settings. If you know you will be outdoors on a sunny day, ISO 200 or even 100 can give you richer color and finer grain. If you know you will be in lower light, ISO 800 gives you more latitude.
When you are not sure, load ISO 400 and give yourself the flexibility.
You Cannot Chimp
Chimping is the habit of looking at the back of the camera screen after every shot to review what you just captured. It is so built into digital shooting that most photographers do not even notice they are doing it.
With a film camera, the back of the camera shows you nothing. You press the shutter, you advance the film, and you move on. You will not see your images until the roll is developed.
This is one of the most significant mental adjustments in shooting film, and it is also one of the most valuable. Without the immediate feedback loop, you are forced to trust your own judgment in the moment. You cannot reshoot because you saw on the preview that it did not quite land. You make your best decision, commit to it, and move forward.
That commitment builds a quality of confidence in your own eye that the digital review loop quietly prevents from developing. It can feel uncomfortable at first. Lean into it. That discomfort is the practice.
Expose for the Highlights
Film and digital handle overexposure differently. Digital sensors clip highlights hard — blow out a highlight on a digital file and there is often no data there to recover. Film rolls off highlights more gracefully, which means slightly overexposed film often looks better than slightly underexposed film.
The practical guidance from this is to expose for the brightest important part of your scene. If you are photographing a person in front of a window, expose for the person rather than letting the camera average the bright window into the equation. If you are shooting in mixed light, err slightly toward the brighter side rather than the darker side.
This is different from how many digital photographers learn to expose — shoot a little dark to protect highlights and lift in editing. Film rewards a slightly different approach, and understanding this before your first roll will improve your results noticeably.
Write Down Your Settings
When your first roll comes back from the lab and you are looking at the scans trying to figure out why the frames in the kitchen look different from the frames in the park, you will wish you had written anything down.
Film has no metadata. There is no EXIF data attached to a film scan telling you what aperture you were at or what shutter speed you used. That information lives only in your memory or your notes.
For your first roll especially, keep a simple log. Frame number, location, approximate settings. It does not need to be elaborate — even a note on your phone that says frames 1 through 8 were indoors at f/5.6 and 1/60 is infinitely more useful than nothing when you are trying to understand what produced a particular result.
After a few rolls, you will not need to log as carefully because you will have developed enough of an intuitive sense of what works. But for the first roll or two, notes will teach you more than the images alone can.
Get Your Roll Developed Promptly
Exposed film is not permanent. The latent image on the film — the image that exists on the emulsion before development — degrades over time, especially in heat. You do not need to rush to the lab the same day you finish a roll, but leaving it sitting for weeks or months in a hot car is going to affect image quality.
Store your exposed rolls in a cool, dry place and get them developed within a few weeks of finishing them. Most labs offer development with scanning included, which means you get digital files back that you can view, share, and edit. That is the most practical option for most beginners.
Research a lab before you send your first roll. Read reviews. Understand their turnaround time and their pricing. A good lab handles your film carefully and delivers consistent scans. A poor lab is a frustrating experience when you are just getting started.
If you want a clean, simple reference for all of this — what film to buy, what to check on your camera before you load, what to know about getting your roll developed — the free 35mm Starter Checklist has it organized in one place. It is the practical companion for your first roll, and it lives in your back pocket for every roll after that too.
Film photography rewards preparation. Not excessive preparation — just enough that the shooting itself can be focused on seeing rather than troubleshooting.
Get your camera ready. Load your film. Go shoot something.