Every new photographer falls into it — the gear trap. You know the one: spending late nights scrolling Amazon, comparing lenses on YouTube, convincing yourself the only thing standing between you and professional photos is that $2,000 camera body.
I get it. Gear is exciting. It’s shiny, technical, and it feels like progress. But here’s the truth: gear doesn’t make you a better photographer — practice does. Your first clients won’t care what camera you use; they’ll care if you made them look and feel good in the photos.
So let’s break down what you actually need to start your photography journey (and what you can safely ignore for now).
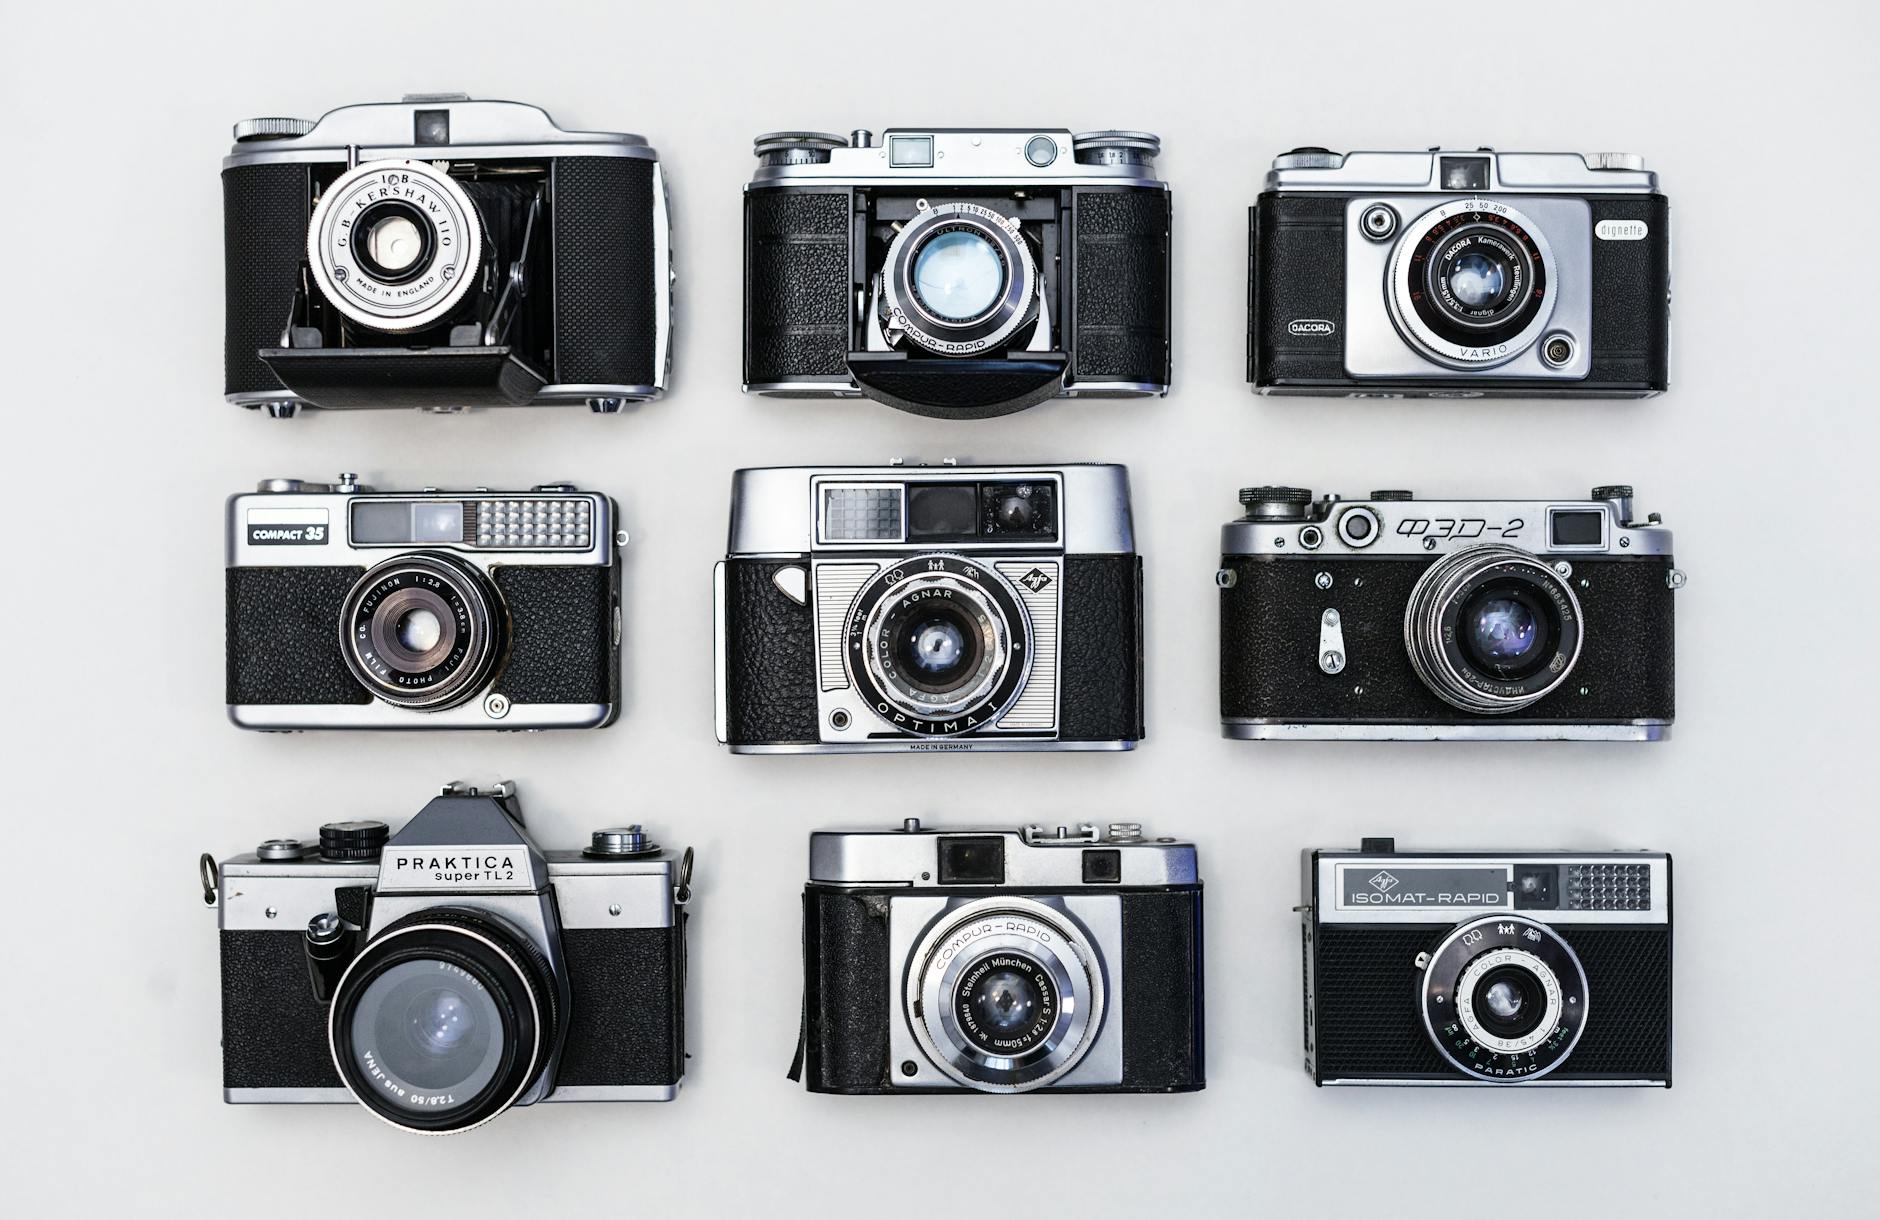
Step 1: Start With One Reliable Camera
No, it doesn’t have to be the latest model. You need a camera that:
-
Lets you shoot in manual mode (so you can control aperture, shutter, and ISO).
-
Has an interchangeable lens system (so you’re not locked into one kit lens forever).
-
Fits your budget without maxing out your credit card.
 Options for beginners:
-
Entry-level DSLRs like the Canon Rebel series or Nikon D3500.
-
Mirrorless options like the Sony A6100 or Canon R100.
Remember, these cameras are more than capable of producing professional work when you know how to use them.
Step 2: Choose One Versatile Lens
The truth about kit lenses: they’re fine for learning, but they won’t give you that “professional” look most clients expect.
Instead, invest in a prime lens (one with a fixed focal length). The most budget-friendly and versatile option? The classic “nifty fifty” (50mm f/1.8).
Why it’s gold:
-
Affordable (usually under $200).
-
Wide aperture (f/1.8) gives you that dreamy blurry background.
-
Great for portraits, families, and general lifestyle sessions.
Other good starter options:
-
35mm f/1.8 (more environmental, great for small spaces).
-
85mm f/1.8 (beautiful for portraits if you want creamy compression).
 Rule of thumb: Start with one prime lens, master it, then expand.
Step 3: Don’t Forget About Light
Here’s the thing: you can have the most expensive camera in the world, and if you don’t understand light, your photos will still fall flat.
For beginners, natural light is your best friend. But having one or two simple tools will level you up fast:
-
Reflector: Bounces light back onto your subject, reduces harsh shadows ($20–40).
-
External flash: If you’re shooting indoors or at night, a basic speedlight can save the day ($70–150).
Nerdy hack: A white foam board from the craft store works as a reflector. Instant budget upgrade.
Step 4: A Reliable Editing Setup
You don’t need a Mac Studio and triple-monitor setup. You just need:
-
A computer that can run Lightroom or another editing software smoothly.
-
An external hard drive (1–2TB) to back up your work.
-
Optional but nice: a color-calibrated monitor if you’re serious about prints.
Software wise:
-
Adobe Lightroom + Photoshop (industry standard, ~$10/mo subscription).
-
Alternatives: Capture One, Luminar, or even free tools like Darktable if you’re on a budget.
Step 5: Skip the “Nice-to-Haves” (For Now)
Things you do not need to buy as a beginner:
-
5 different lenses.
-
A camera bag that costs more than your lens.
-
Fancy lighting kits with 3–4 strobes.
-
Studio backdrops and props before you’ve even booked a client.
These will become useful later, but right now they’ll just drain your wallet and distract you from learning the core skills.
Step 6: Invest Time, Not Just Money
The gear trap isn’t just about overspending — it’s about avoiding practice. Buying something feels like progress, but it’s not. Progress is:
-
Shooting daily, even in your backyard.
-
Learning to see light everywhere you go.
-
Editing consistently and developing your style.
Remember: The best gear in the world can’t fix a photographer who doesn’t practice. But even entry-level gear in the right hands can create magic.
Wrap-Up + Next Steps
Breaking out of the gear trap comes down to this:
-
One solid camera.
-
One versatile lens.
-
A couple of basic lighting and editing tools.
-
A commitment to practice.
 Want help focusing on what matters instead of wasting money on the wrong things? Grab my free Client Communication Starter Pack — it’ll save you time, energy, and help you look professional even if your gear isn’t top-tier yet.